1. Installation
1.1 Download and import package.
- KnotProjectSettings asset will be created under your root Assets folder.
- KNOT_LOCALIZATION preprocessor will be added to your Scripting Define Symbols.

The root KNOT Localization folder structure should look like this:
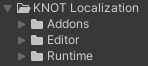
- Editor & Runtime folders contains core scripts and resources.
- Addons contains preinstalled addons like Localized Components, Demo, Tests etc.
You are able to move KnotProjectSettings asset and KNOT Localization folder to any subfolder in your project.
1.2 Before continue working with KNOT Localization it is recommended to run the Tests to make sure that core functionality is working as expected in a context of your project and Unity version you are using.
2. Creating Database
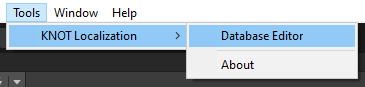
2.1 Open Tools/KNOT Localization/Database Editor window and create new Database asset as suggested.
Note
You can also create new Database using Project window context menu - Create/KNOT Localization/Database
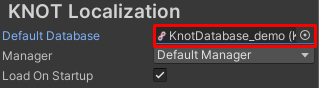
2.2 Go to Edit/Project Settings.../KNOT Localization and ensure that your newly created Database is assigned to Default Database.
3. Adding Text Collection
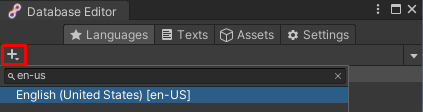
3.1 Switch back to Database Editor window and open Languages tab. Click + to select Culture Name and create new Language.
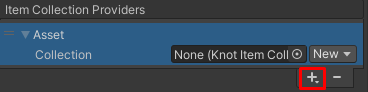
3.2 Select newly created Language and add Asset Collection Provider to Item Collection Providers.
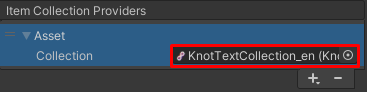
3.3 Create and assign new Text Collection asset to Asset Collection Provider.
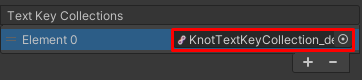
3.4 Open Settings tab, create and assign new Text Key Collection asset.
4. Adding Text Keys
4.1 Open Texts tab and create new Key.
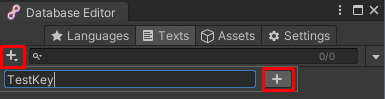
4.2 Select newly created Key, click + to add new value to the corresponding Language

4.3 Enter localized text.

5. Testing Components
5.1 Make sure that your project has Unity UI package installed in Package Manager.
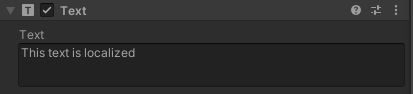
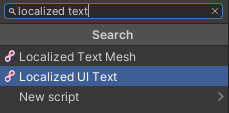
5.2 Create new Game Object with Unity's native Text component and attach Localized UI Text component.
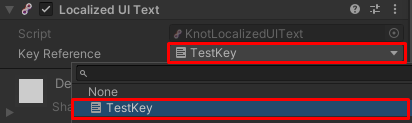
5.3 Assign previously created Key to Key Reference field.
5.4 Hit Play. Localized text will be assigned to Text component.